For the math averse, fear not. This post includes some very very light math that can unlock your options for knitting patterns. It’s simpler than you think. Let’s be clear though, I’m not highly adept at most math. This is my best way to explain things, but I’m sure someone with more expertise can say this better. Also, aside from gauge I’m not using real numbers from the mentioned patterns, because that is copyrighted information.
Do you ever have a pattern that you really want to make out of stash yarn, but maybe it’s a different weight? Sometimes you can just pick a different size within the same pattern and follow those numbers with your preferred yarn and get what you want. I’ve mostly tried this with patterns when the yarn is close-ish in weight to the recommended yarn, like substituting fingering for DK, or worsted weight for DK. I probably would not try to substitute a bulky weight for fingering or vice versa. This usually works best if your row gauge does not change dramatically, or the pattern is not highly dependent on row gauge. If you have fewer stitches per inch than the specified gauge you should be looking at smaller sizes to get what you want. If you have more stitches per inch than the pattern calls for you should be looking at bigger sizes. Essentially you find out how many stitches and rows per inch your gauge has and you use those divide those numbers by some pattern numbers to find out which size to make. The following paragraphs are just more detailed descriptions of that.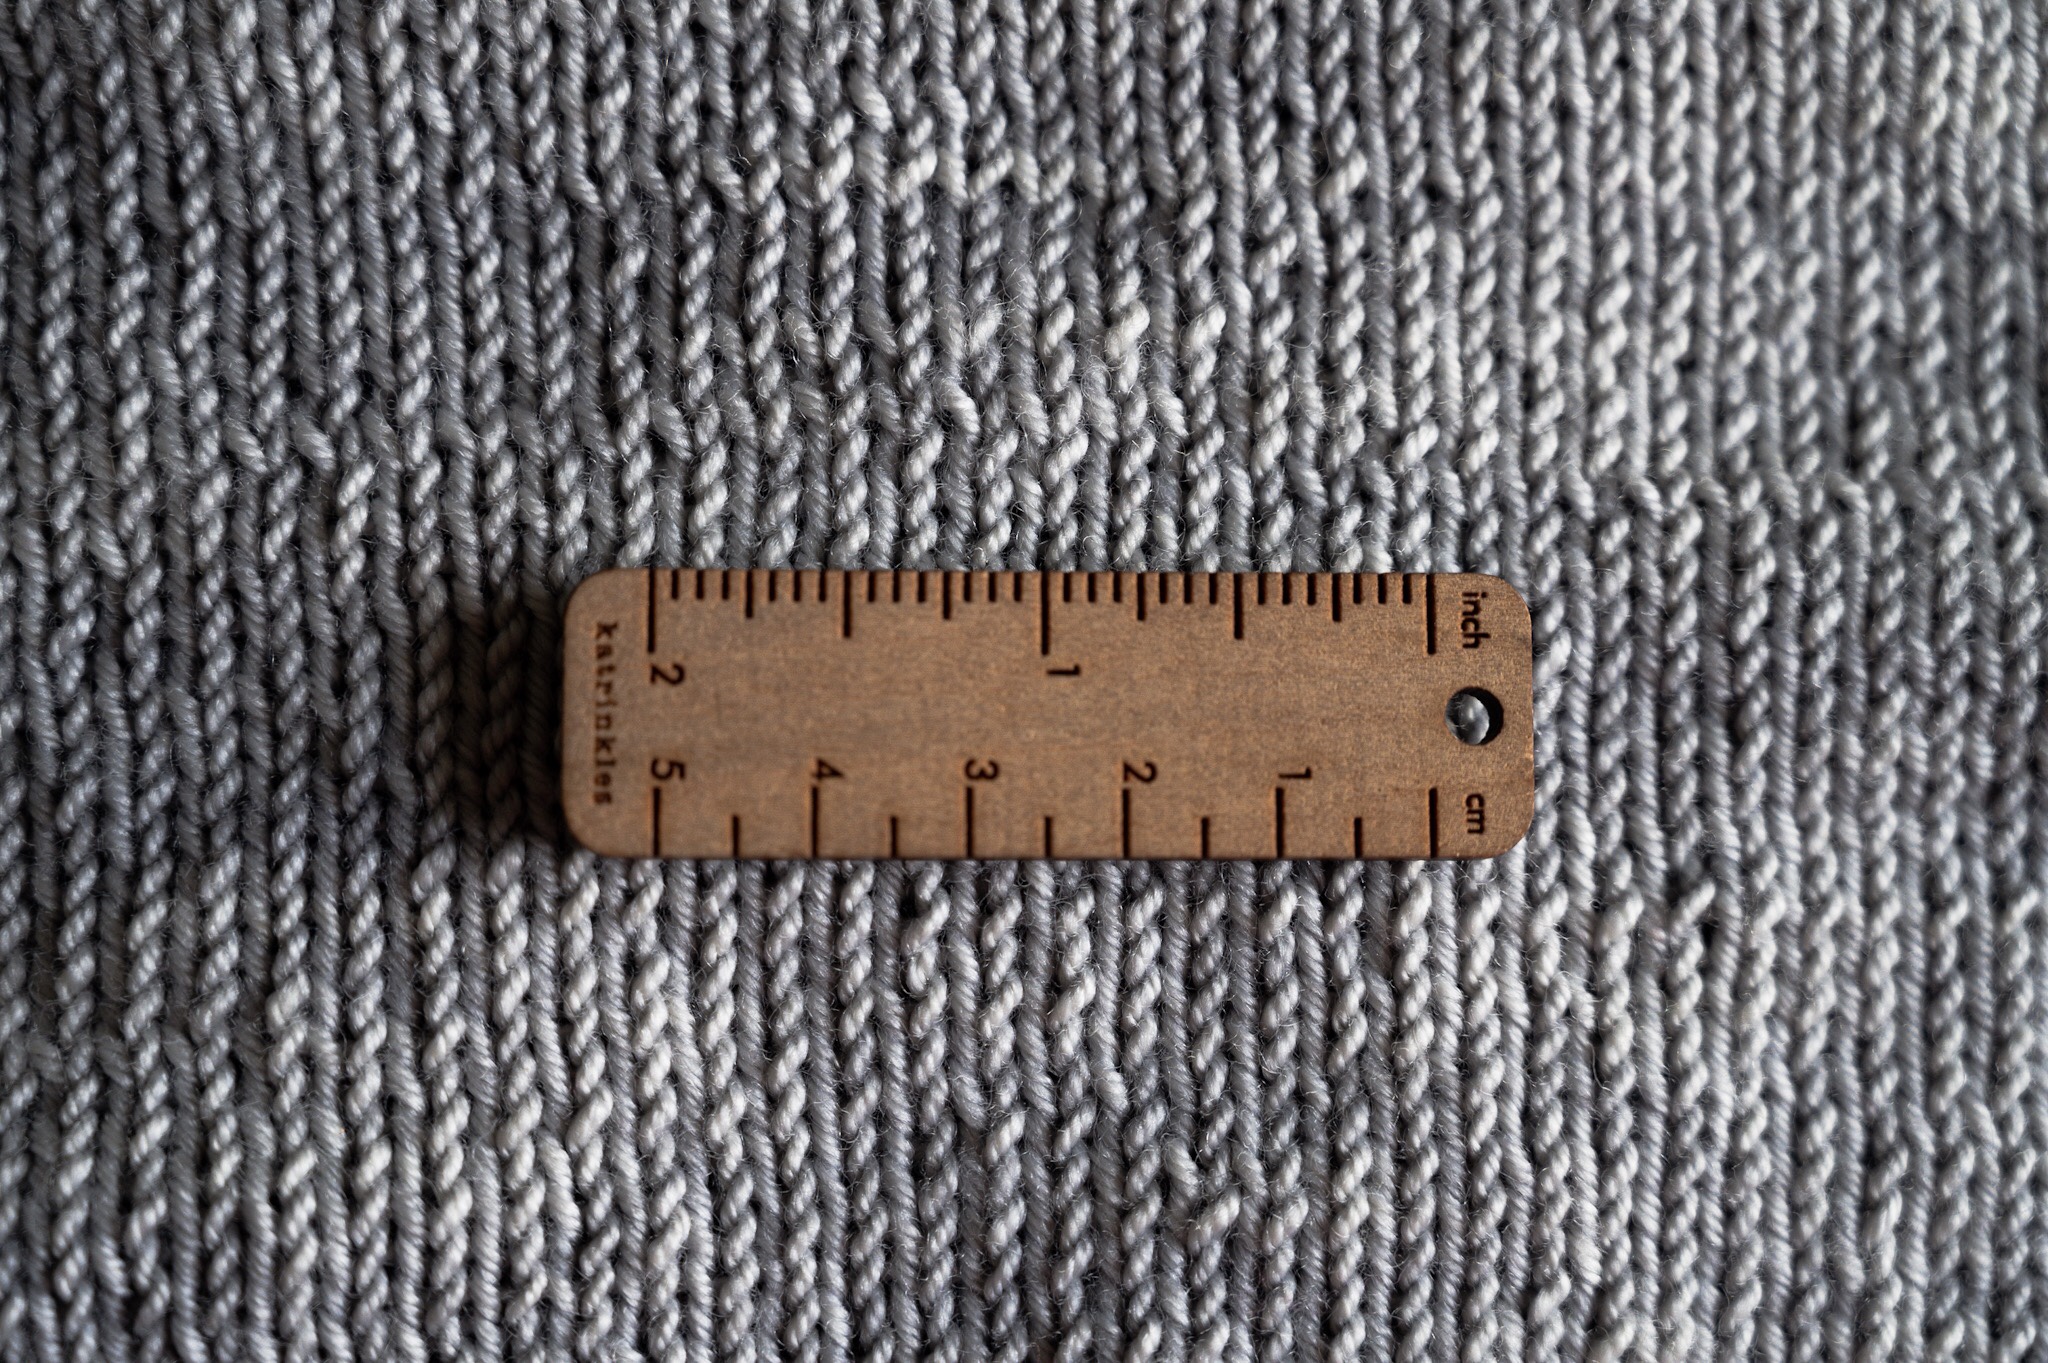
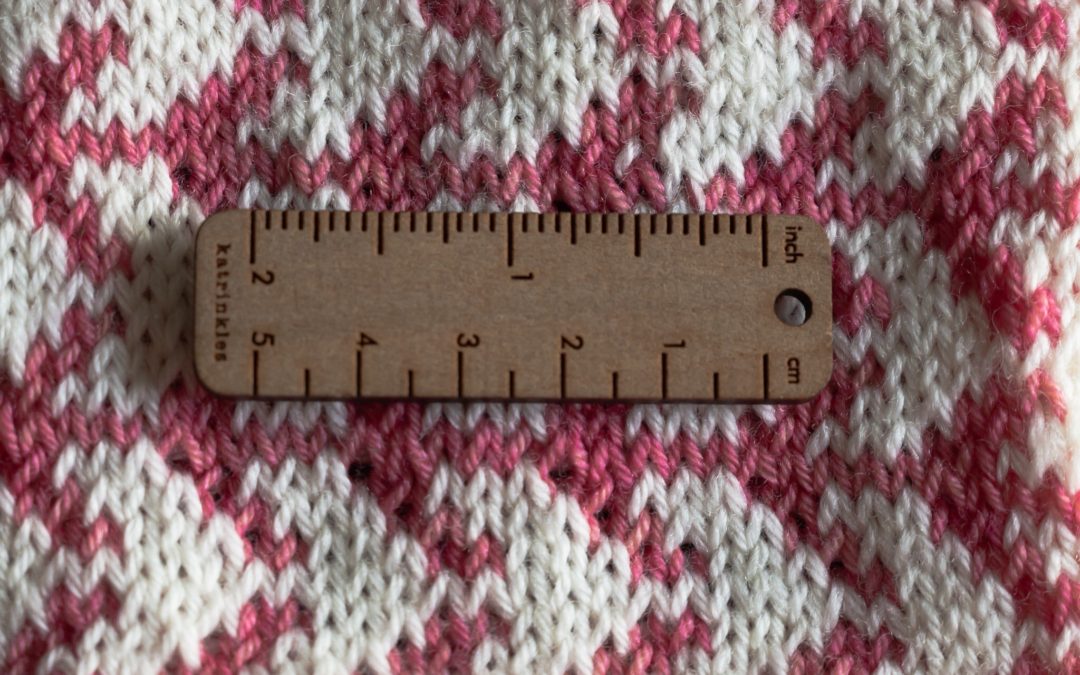
I recently did this on League. My yarn is a heavy fingering weight, which was slightly too big compared to the recommended Loft yarn. I’m in love with the Miss Babs Keira I wanted to use, and I already had a bunch in my stash, so I wanted to make this work. Using the same needles recommended, I swatched and realized that I could go down a size to get the size I want. What do I mean by that and how do I know? The gauge for League is 23 stitches and 38 rows over 4 inches. My gauge with my chosen yarn is 22 stitches and 34 rows over 4 inches. Some simple math can make sure you get what you want.
To adapt the pattern for yourself you can either figure out how many inches (or centimeters if you prefer) happen per decrease and use that, or you can figure out how many rows you should be doing and count your rows. If you have 38 rows over 4 inches, you can divide 38 by 4 to know how many rows in each inch. Working with the by inch numbers is easier (for me at least) to comprehend. So 38 rows over 4 inches translates to 9.5 rows over 1 inch. My gauge would end up as 8.5 rows over one inch (34 divided by 4). This is very similar. So much so that you might not need to pay attention to row gauge much at all.
Let’s pretend the pattern says “decrease every 20 rows” for x number of times. With the pattern gauge you can learn how many inches that is by dividing the number of rows by the rows per inch (20 divided by 9.5). You get 2.11 (rounding slightly here) as your answer. Then you can multiply your actual row gauge by that number. Multiplying 2.11 by your row gauge (8.5 here) yields 17.89. You can safely round that up to 18 and know that you should be doing your increases every 18 rows instead of every 20 rows. Or you could know that you decrease approximately every 2.11 inches if you do not care to be picky about the exact number of rows.
But what about the body width, you say? Same thing. I can figure my stitches per inch (22 divided by 4 = 5.5) vs. (23 divided by 4 = 5.75) and then I take the total number of body stitches divided by my number of stitches per inch to see which one was closest. For instance, if you have 230 stitches recommended in the pattern for the body to yield a 40 inch chest size (230 divided by 5.75 is 40), you can divide your stitches per inch into 230 to see how many inches you would have. In this case 230 divided by 5.5 is 41.75 inches. If I like that number, I can just follow that size. If I want things to be a little smaller I would size down and you can see exactly what your size would be by dividing the total number of body stitches by your adapted stitches per inch. I might be aiming more for a 37 inch chest size. Let’s pretend the next size down is 36 inches. That would be 207 stitches for the body if the gauge of the pattern is 5.75 stitches per inch. I can divide that 207 by my gauge of 5.5 stitches. That would give me 37.63 inches. That’s probably the size I would choose.

What if the situation is reversed and you have more stitches per inch than the pattern calls for? In that case you could be looking at sizes in the pattern that are larger than your bust size to follow those numbers. In the swatch above I am trying to adapt my gauge (26 stitches and 30 rows) for Soldotna Crop‘s 22 stitches and 26 rounds. Dividing these by 4 tells me that I have 6.5 inches and 7.5 rounds over 4 inches while the recommended gauge is 5.5 stitches and 6.5 rounds over 4 inches. Let’s pretend there is a 42 inch bust size. According to the pattern gauge that would be about 231 stitches (42 x 5.5). I find that 231 in the pattern (look for the total number of body stitches) and divide it by my 6.5 stitches per inch. That would yield 35.53 inches. That’s a little smaller than I’d like my result to be, so then I could look at the next size up. Let’s say it’s 46 inches. That would be 253 stitches. I divide my stitches per inch by that (253/6.5) and that result would be 38.9 inches. That’s probably the one I’d pick based on my comfort of a size range between 37 to 40 inches. If I want more ease I could do the math for the next size up.
I already know I will have to make a child version of Soldotna Crop. Zooey saw the swatch and has already put in an order. For her, I will likely swatch whatever fingering weight yarn I plan on using on a slightly smaller needle. I used a US 5 to get my 6.5 stitches per inch gauge. I could easily do a fingering weight on a US 3 or 4 to make my gauge even smaller (more stitches per inch) and multiply that by the body sizes to get the size I want to be a little larger than her 23.5 inch chest. Using a smaller weight of yarn is the simplest way to adapt an adult pattern to a teen or kid size. Let’s say the smallest size of the pattern is 34 inches, meaning about 187 body stitches (34 x 5.5 gauge). If I can get my gauge to be 7 stitches per inch I can divide 187 by 7 and get a result of 26.7 inches. That would give Zooey a sweater that is a few inches larger than her chest size (some positive ease) and that’s where I would aim. Since I already have 6.5 inches per stitch on a size US 5, I will probably pick some fingering weight and start with a US 4 to try to get 7 stitches per inch.
I hope this math heavy post makes sense in some ways. The purpose is to empower you to knit the patterns you want in the yarns you want without having to adapt the numbers in the pattern. I hope you try it out for yourself!


Yes, the math is so important for getting that great fit!!
Thanks for the post! I just used your advice to calculate the sizing for my new WIP. 😉