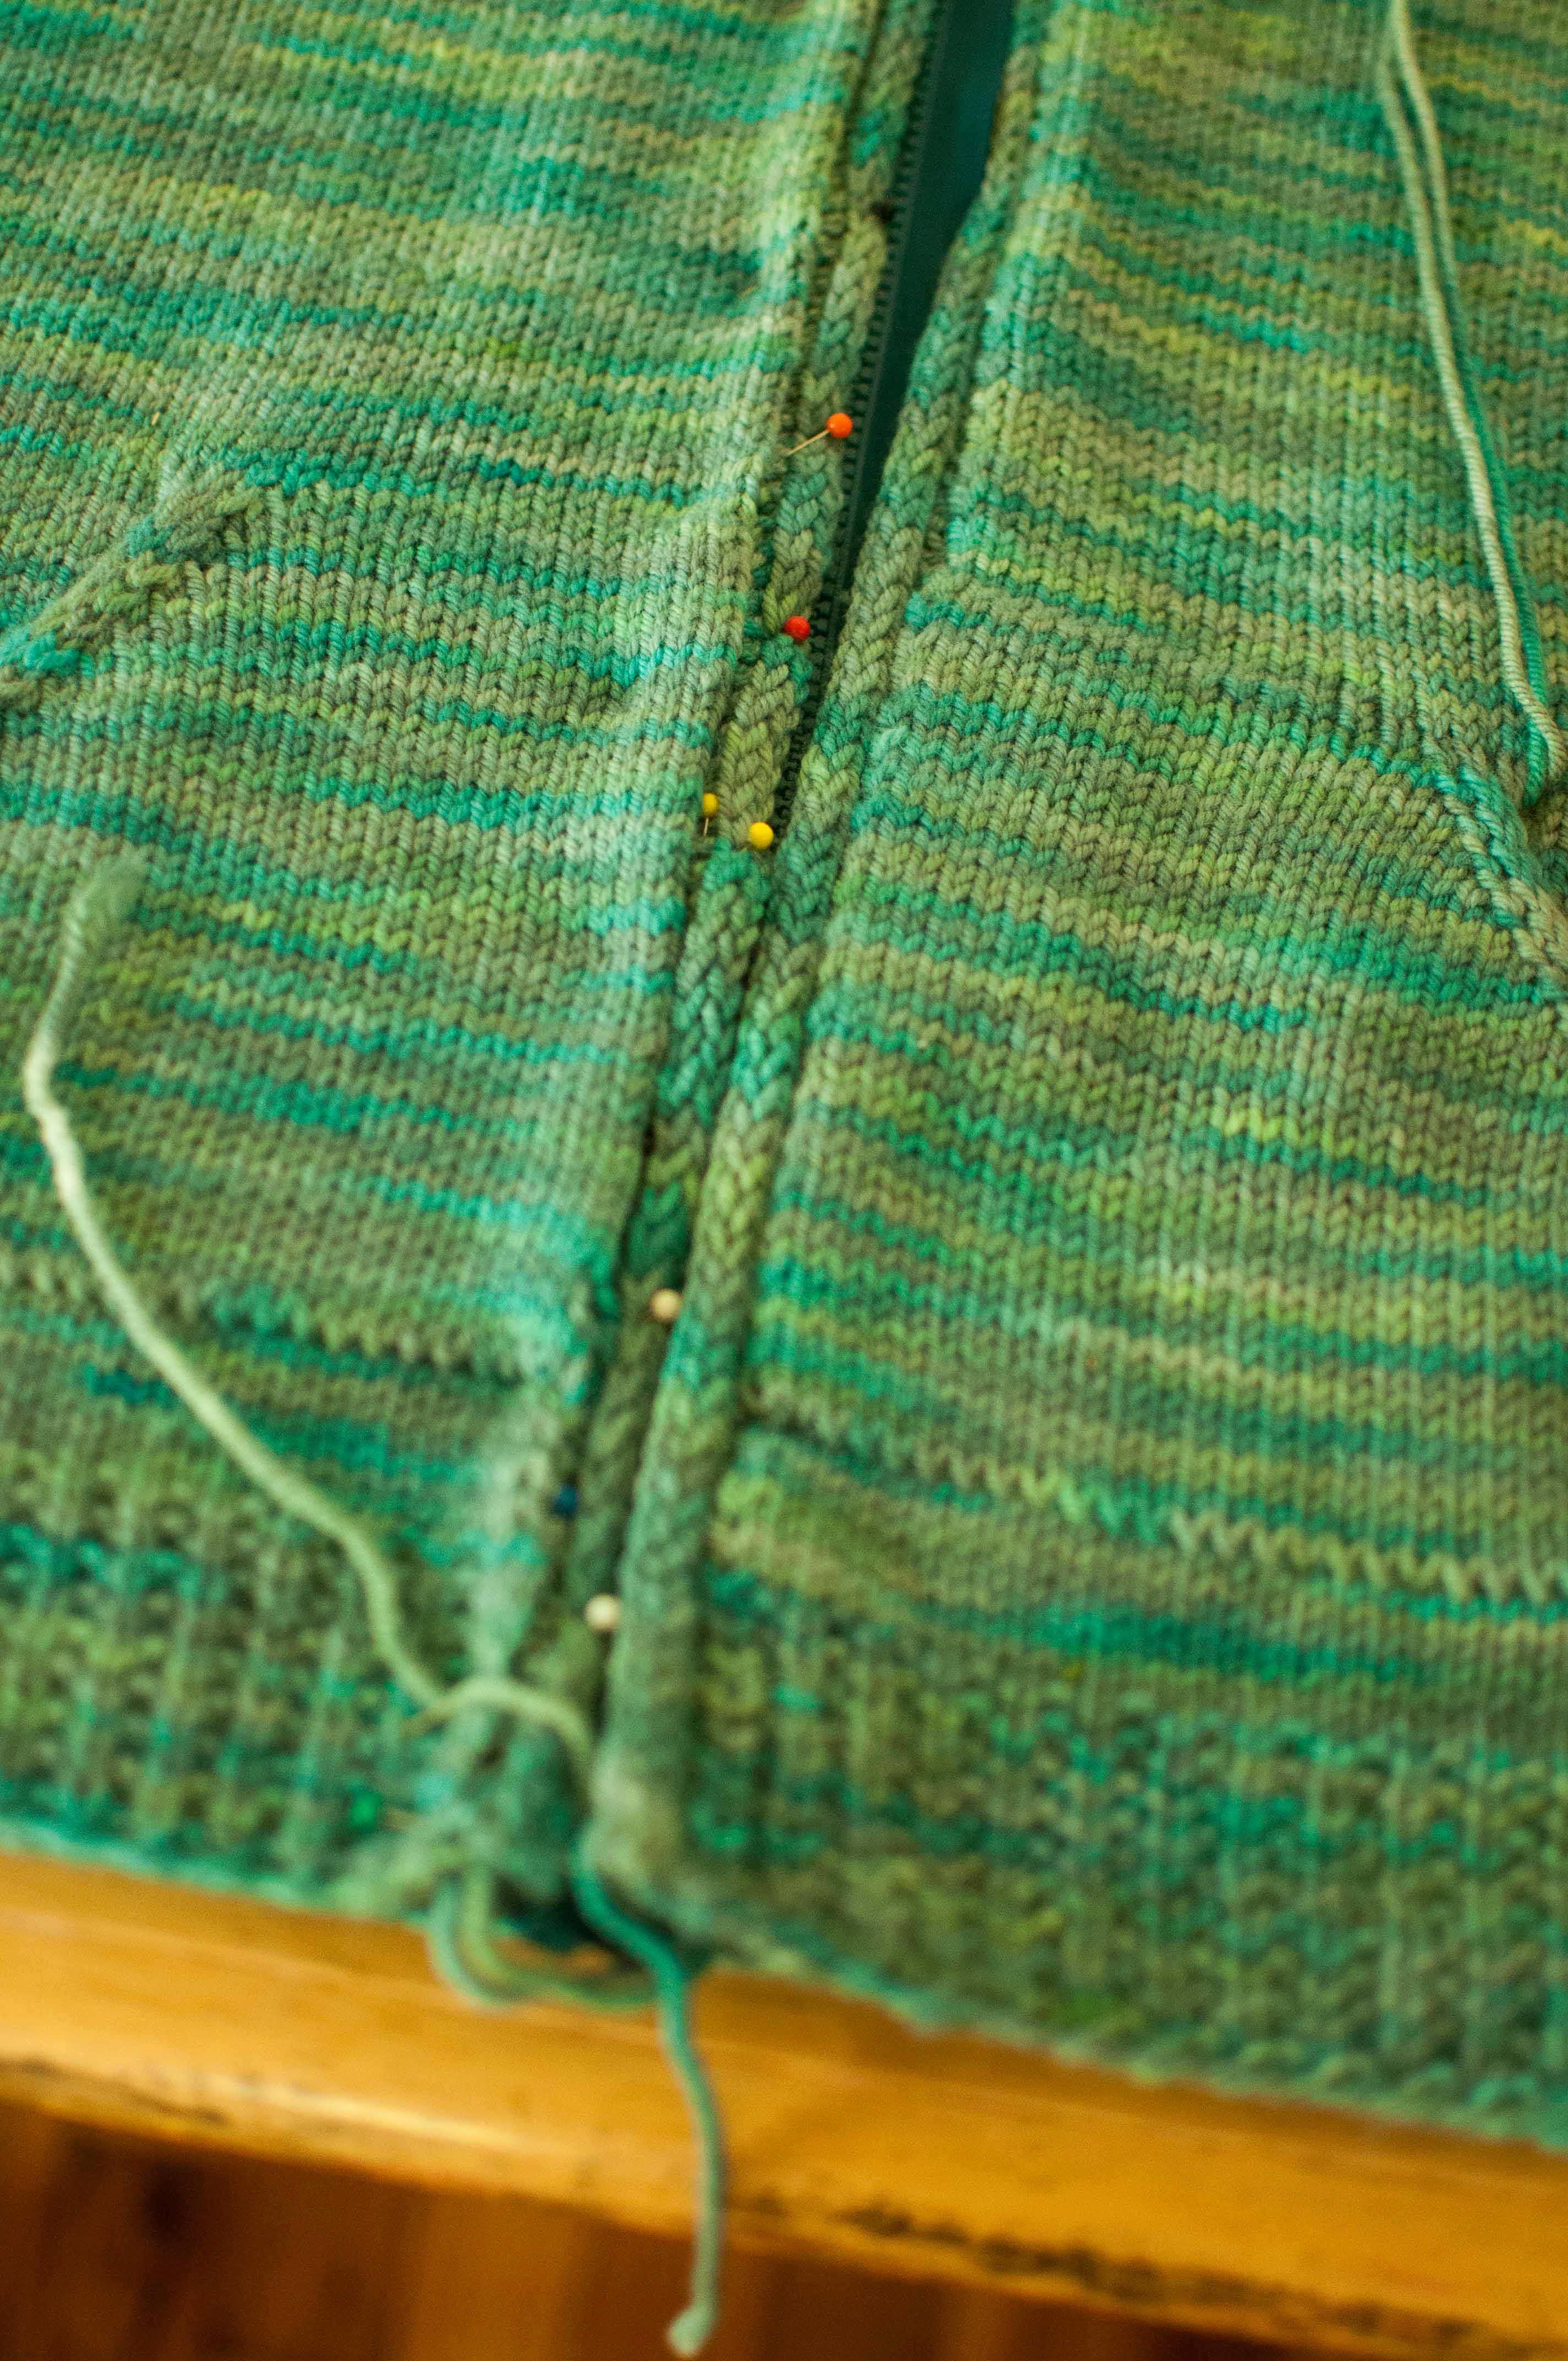
I am completing not one, but two R&R Hoodies this week and I can’t wait to show you more! Zippers are no longer a fear of mine after sewing in the one on my finished hoodie. I followed the zipper tutorial for this hoodie by Tanis Fiber Arts and that was almost all I needed. Sewing is not a talent of mine, so even thought the TFA tutorial linked to instructions for backstitching, I found this video to be essential for me to grasp the concept. For some reason, before starting the zipper I thought I had to pin both sides at once and sew in the zipper with the entire thing closed and pinned. Turns out, you just need to pin one side with the zipper closed, seam that side, and then pin the other side with the zipper closed to make things match.  My backstitching is still not pretty, so I’m not showing that off, but I could tell it was getting better by the second side.
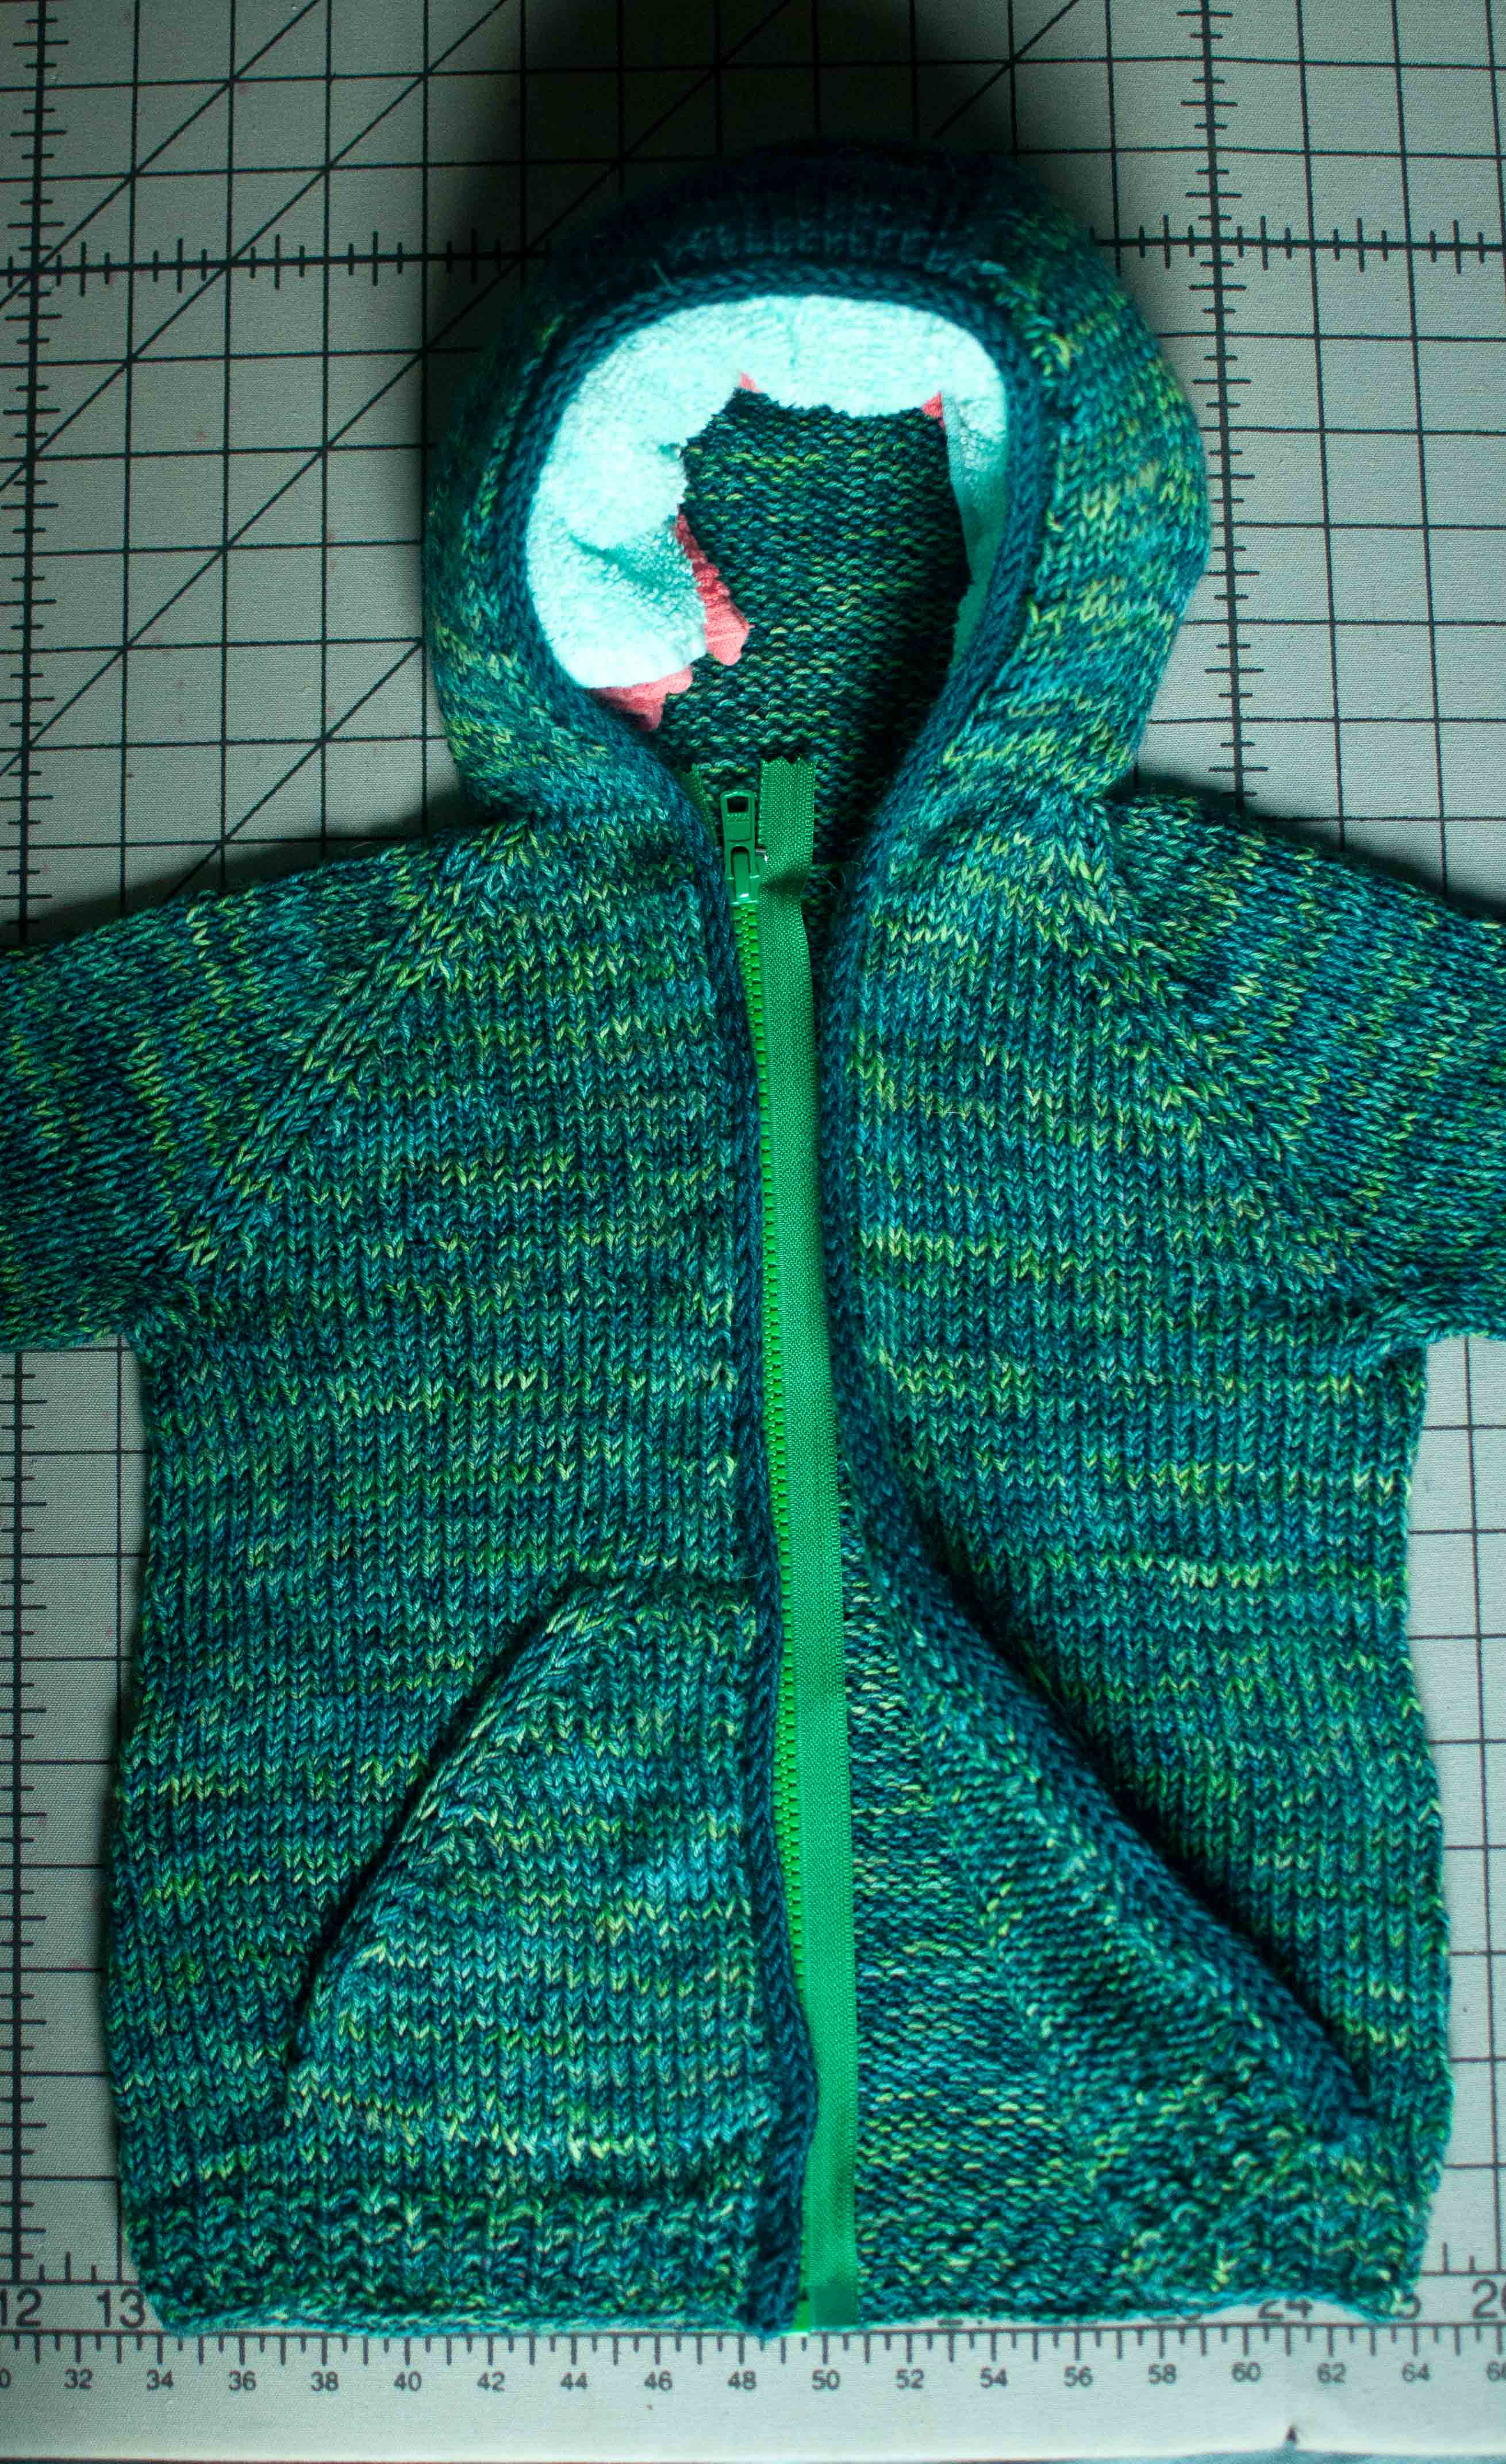
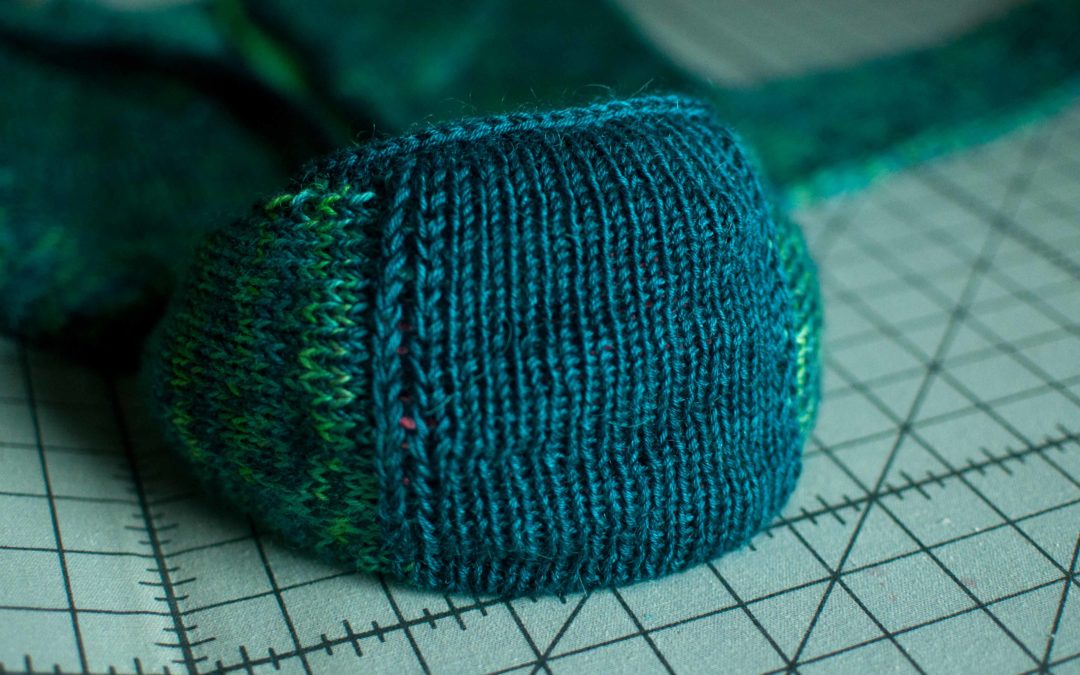
I am blocking Charlotte’s R&R Hoodie right now. I finished it yesterday. I added some length to the body and sleeves to give her some room to grow, since the chest sizing was pretty generous and she is a bit small for her age. I knew I was going to run out of yarn on the hood, so I improvised and threw in some of the leftover Bulletproof Sock in Riptide. I wasn’t sure if it would look weird to have a big block of color in the middle of the hood, but now I think I like it.  It was the only partial ball of yarn I had that would really coordinate well. I could have broken out some untouched sock yarn, but I hated to start a new skein for just a bit of hood and i-cord edging.
  This pattern is great. For both my sweater and Charlotte’s I’ve added some additional length to the sleeves and body: so she can grow into it, and so I can have the length I want on my long torso. The only other deliberate change I made to the pattern was binding off before the hood. I bound off and picked up stitches to give the garment a little extra support at that area. I don’t know if this is necessary with the raglan decreases, but I remember reading a post about the Central Park Hoodie by the Yarnharlot ages ago mentioning that the back of the neck can get sloppy without some support. I decided to just build it in by binding off for a definite edge. That edge also helped me with blocking to make sure I was getting all of my proportions right to line up the zipper. Tanis recommends knitting the piece, blocking, THEN buying your zipper, but I mixed things up a bit. I planned in the added length ahead of time to fit the zipper size I thought would be best and blocked to the length of the zipper. So far that worked for my hoodie and it should work for Charlotte’s too.
Next up is one for Zooey, and it will be the wildest and most colorful yet!


Your hoodies are looking fabulous and I really like the contrasting hood top! I don’t think it’s weird at all, it totally looks like a feature. I might try that bind off/pick up trick for my next hoodie, I’m really curious to see if it makes a difference. Excited to see Zooey’s!
Thanks, Tanis! I’m hooked on your pattern. It’s a fantastic design and I’m hoping to get one done for Matt this fall too! Matching family knits are my dorky knitting fantasy.
I love the colors. They match up perfectly!
That is adorable and beautifully done!
Looks awesome ! If you hadn’t mentioned it ( and shown the overall pic ) I wouldn’t have guessed the colourblock didn’t belong to the original yarn.
This sweater is so cute! I love the extra color on the hood it adds a perfect little pop. I can’t wait to see the next one!
Awesome progress. I hope the designer knows how much you love her pattern. Man, you are whipping these up.
So cute! My sewing on knits is generally terrible–your zippers look great and make me think that maybe one day I too can sew a zipper into a sweater!
so fantastic, and glad you found some helpful tricks for the zipper. I love your hood blocking technique!
That hoodie! So gorgeous. Congrats on the zipper accomplishments