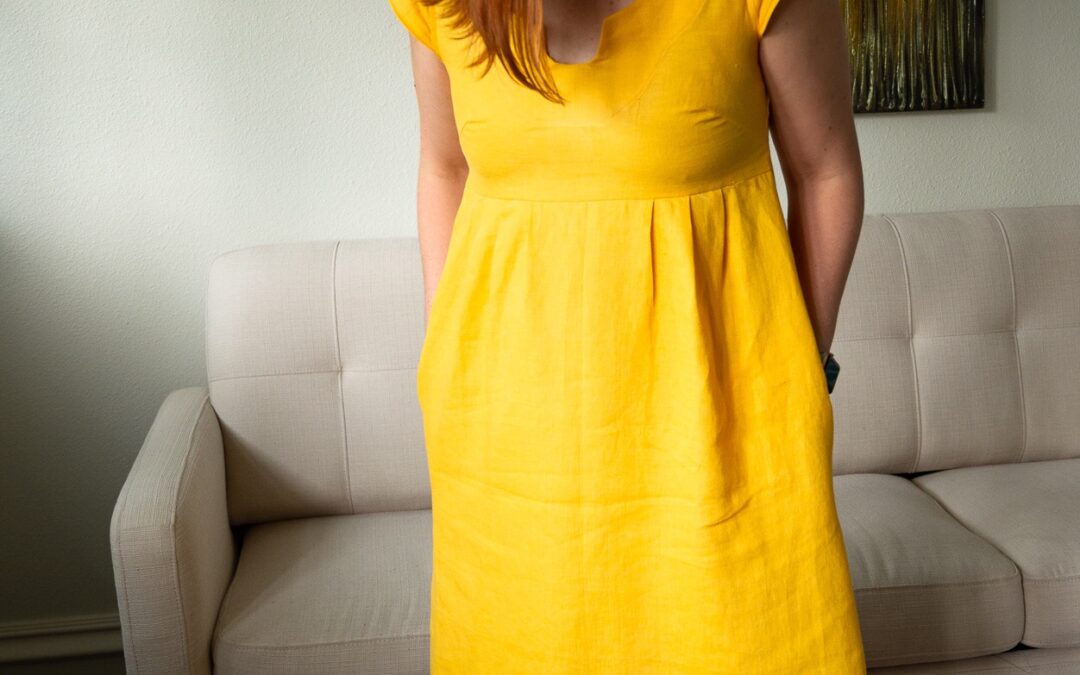
I made a second Washi Dress and I love it even more than the first. This one was made with some medium weight linen from Mood. I couldn’t find this particular color again, but it was called beeswax and it feels like pure sunshine. 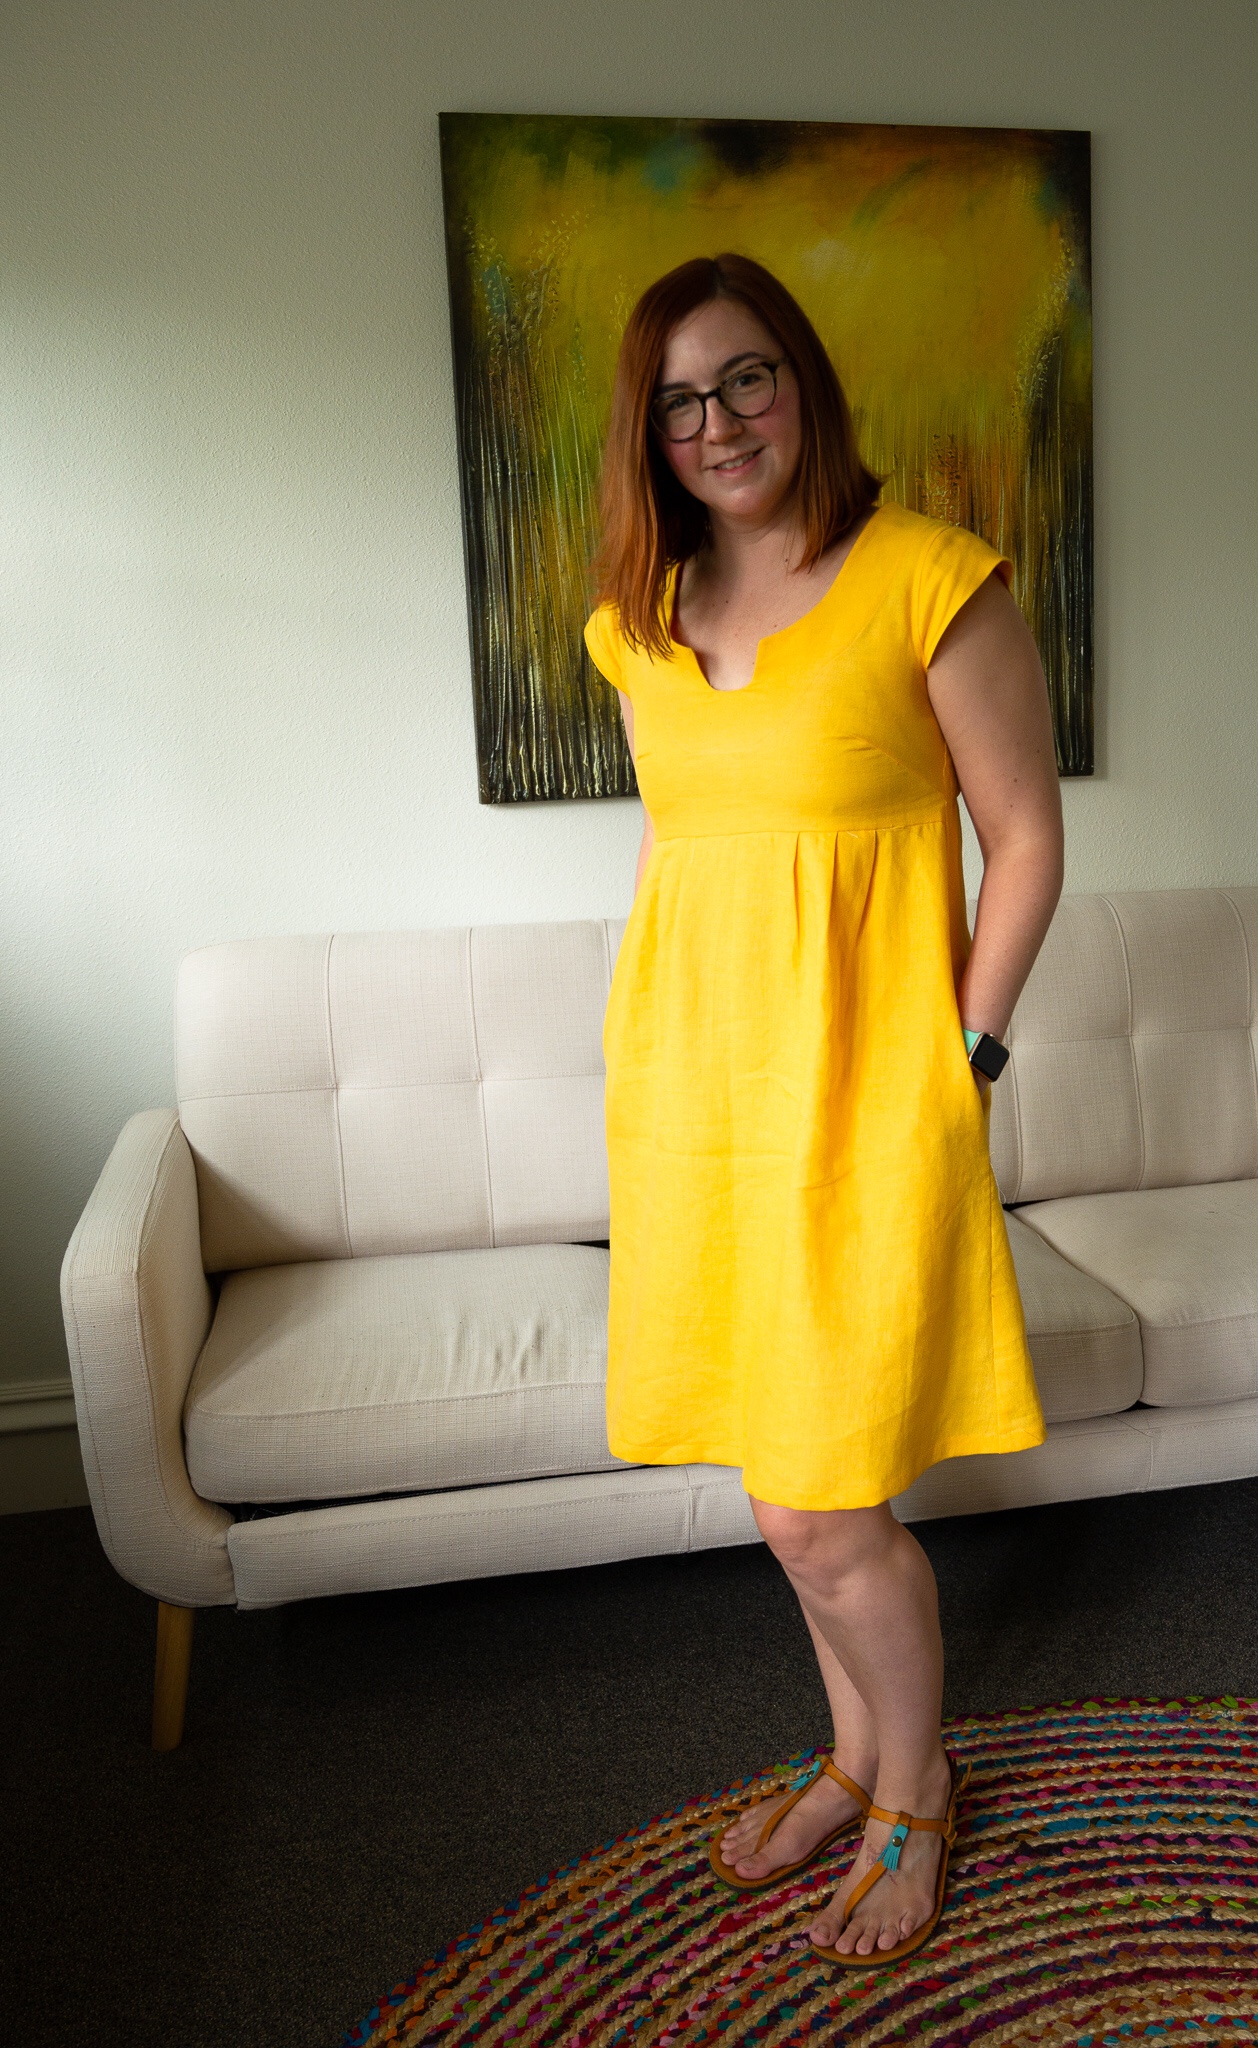
The first time I made this I made the rounded neckline rather than this slightly harder cutout version. I like it both ways, but this takes it up a slight notch for me since it makes the project a little more unique. I love the crispness of the linen version so much. I really love sewing through linen. It stays put, does exactly what I want, and I can make 1/8 inch seams fairly easily with it. 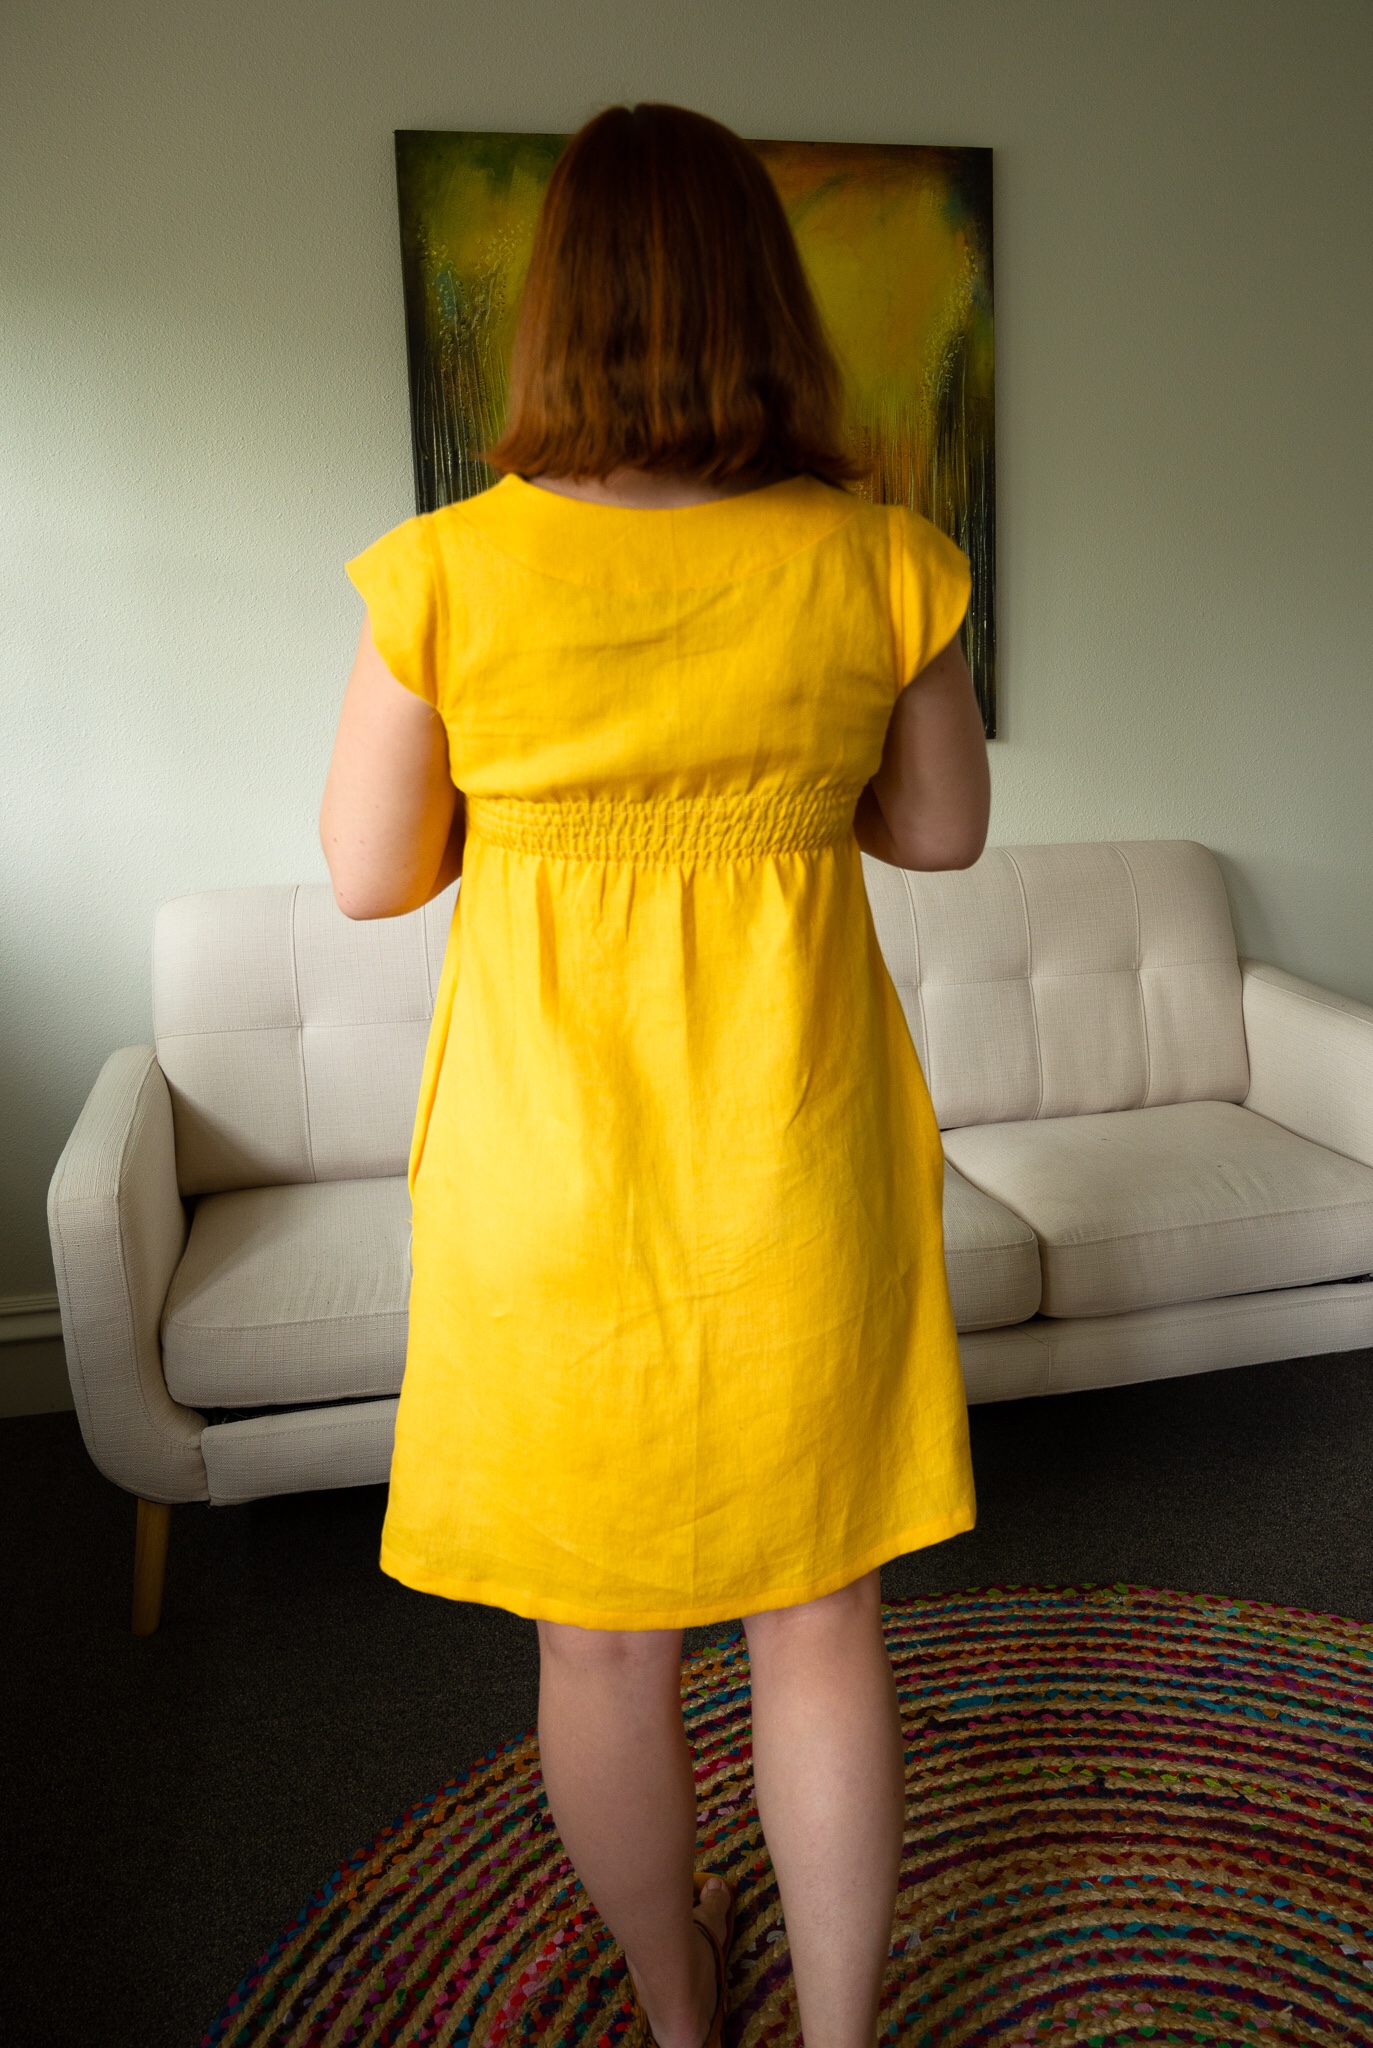
For this version, I made French seams wherever I could in the pattern. The seam allowances were mostly half an inch, so I made the first seam of the French seam with as close to 1/8 inch as I could manage neatly. The second seam of the French seam I made with 3/8 inch seam. I’m really glad I took the extra time to do that because I think it will add to the longevity of the garment and it makes the inside look so pretty and well finished. I think for me that’s going to be an important part of sewing–making sure I take the time to do the best I can with each garment. It might seem boring to watch stitch after stitch go through a machine in a straight line, but it is so soothing and meditative. It brings me such pleasure, especially with fabric that feels so delightful to sew. 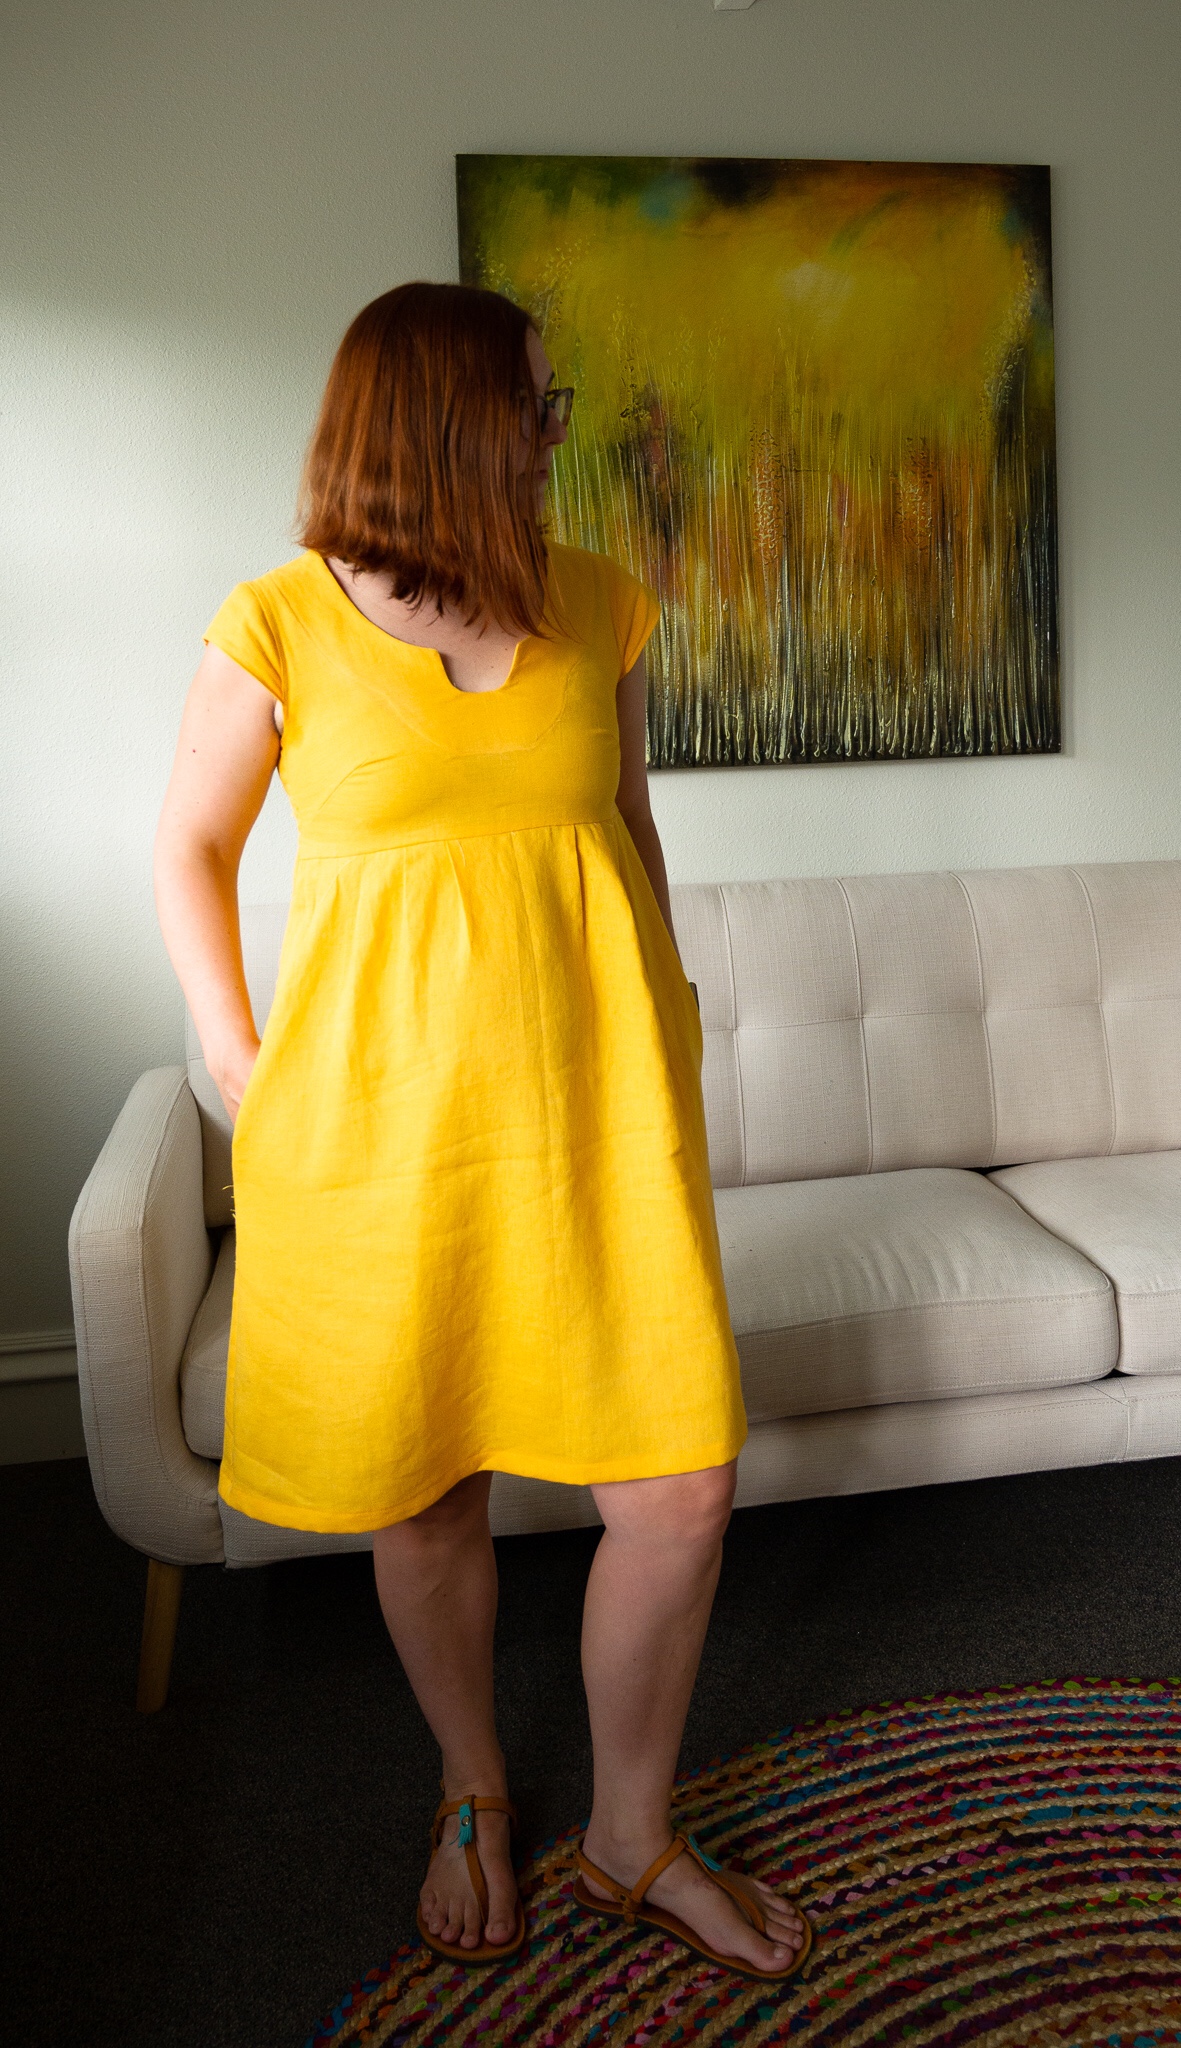
This dress also makes me feel beautiful and I love it for that. The shirring in the back keeps the bodice fitted and flattering. I was really frustrated at the beginning of trying to do the shirring when trying it out with the test fabric, then I realized that I didn’t have the elastic thread in the bobbin quite right and it was not coming out with the right tension. When that part was sorted, everything worked out well. I watched this video to get a refresher and it really helped. 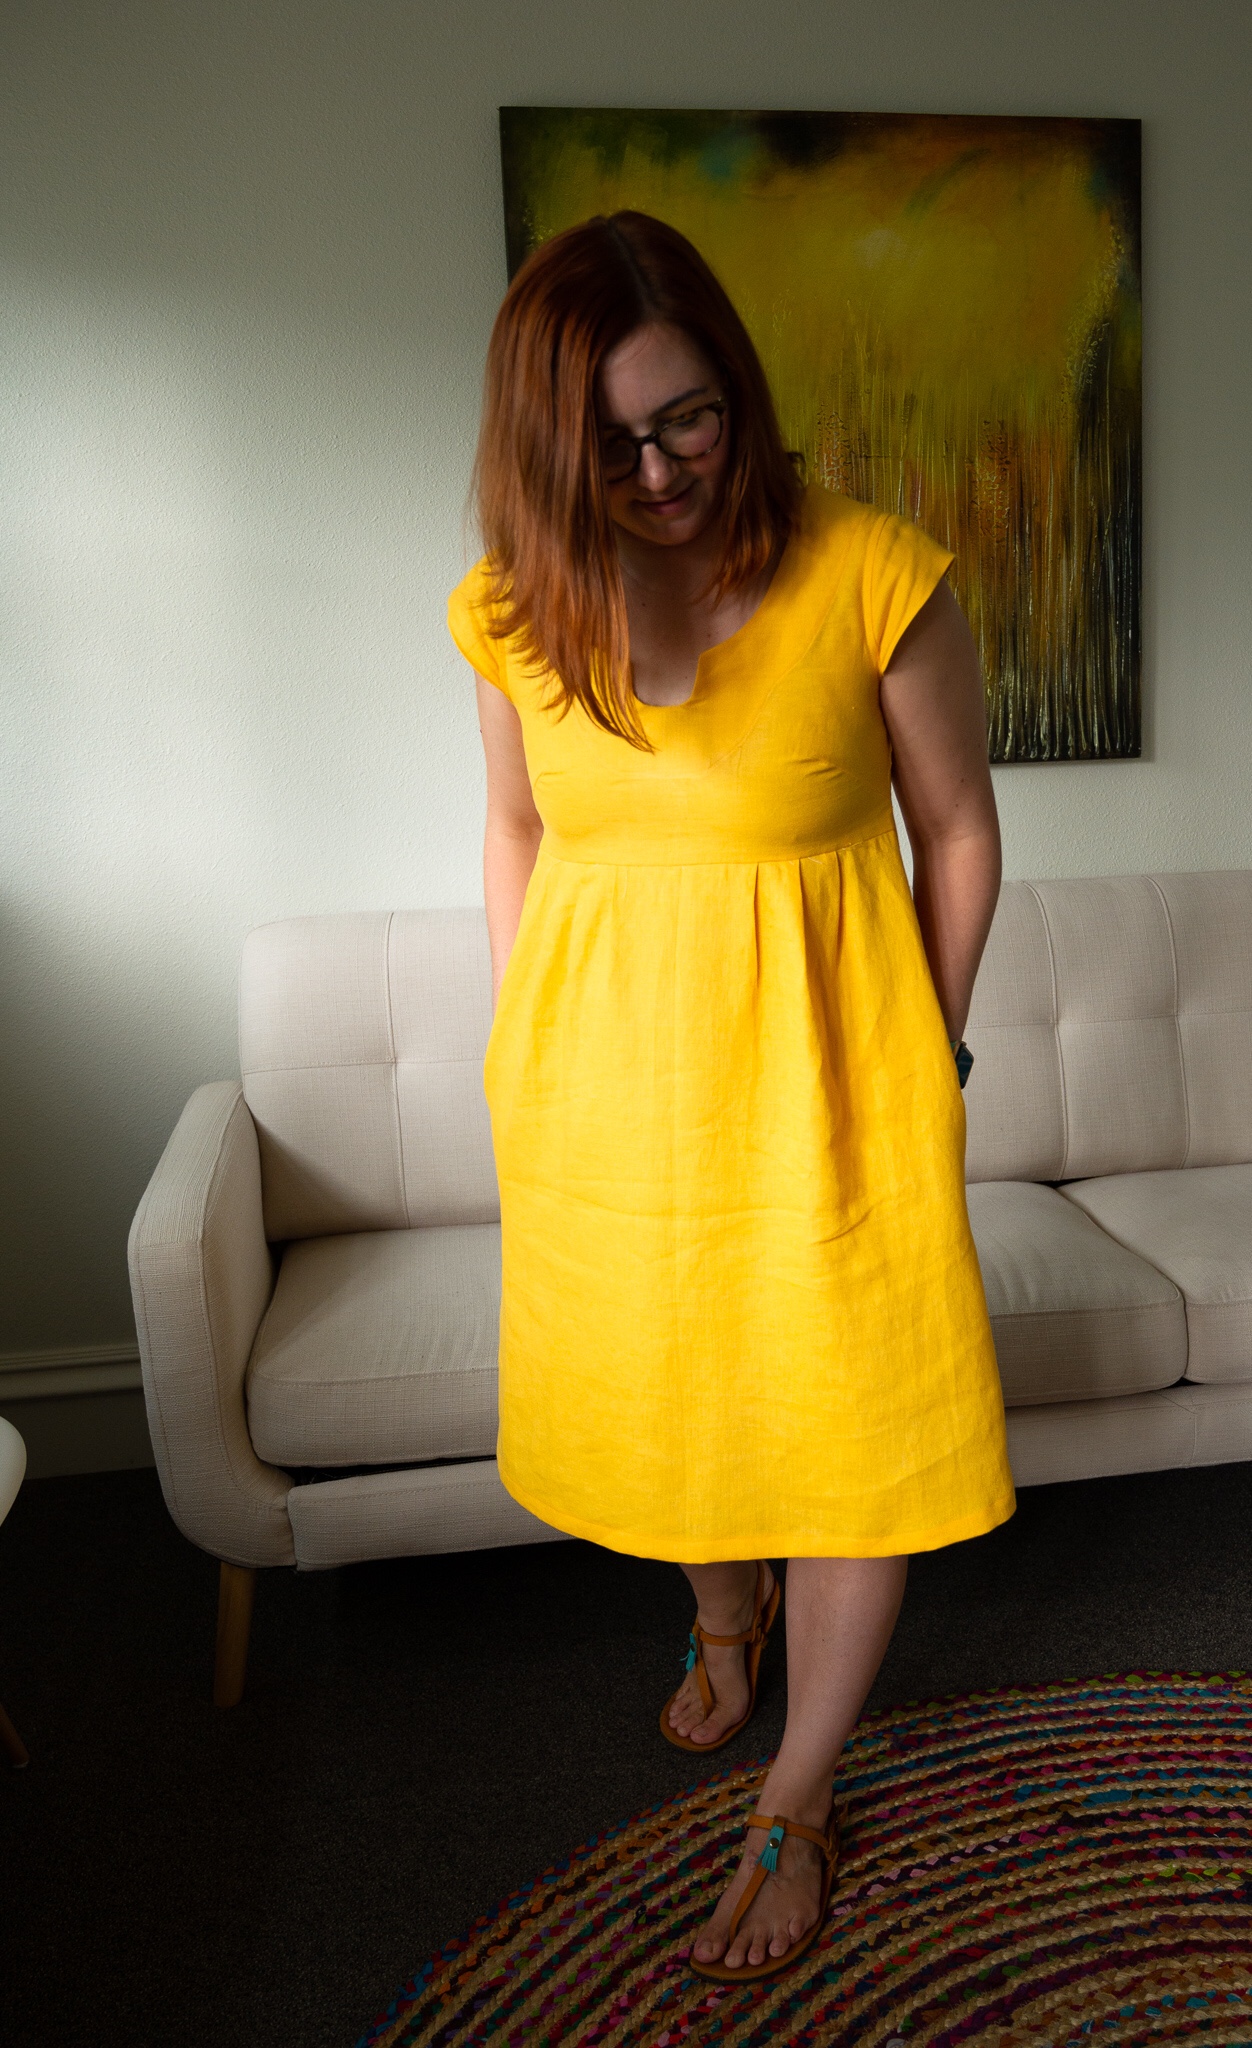
If you make this pattern with this neckline cutout, follow the directions precisely. There are tips about starting the stitching at the bottom of the U and go up from there. Of course I did not try this any other way than exactly as it was specified in the instructions, but I trust that the designer specifies that for a reason.
Sometimes a project can seem really intimidating before I start it, but if I can get myself past the first couple of seams, I can keep going. I had this fabric cut for about a month before starting. I wasn’t really intimidated by my ability to execute this pattern because it was my second time around, but I still did not have the momentum until I got those bust darts done. Then I was off!
Next up in the sewing realm is a hiking backpack for my soon to be eight year old. I’m nervous about it, but Matt originally got the sewing machine to be able to make his own camping gear, so sewing with ripstop nylon is less intimidating to him. I need to remember it’s just one seam at a time.



Love the summer dresses you’ve sewn. This one does is sunshine as a dress haha. It’s been incredible to witness your sewing journey!
Good luck on the camping backpack. It sounds difficult but the mentality you have towards the project is already a great step!
What machine are you using? Vintage or modern?
It’s a Janome Sewist 525s. I love it so much!
Love the dress and the color looks great on you !
Love love love this! The neckline is amazing. 😊
Adorable! I am sooo jealous that you can wear yellow. I love the color, but it looks terrible on me.