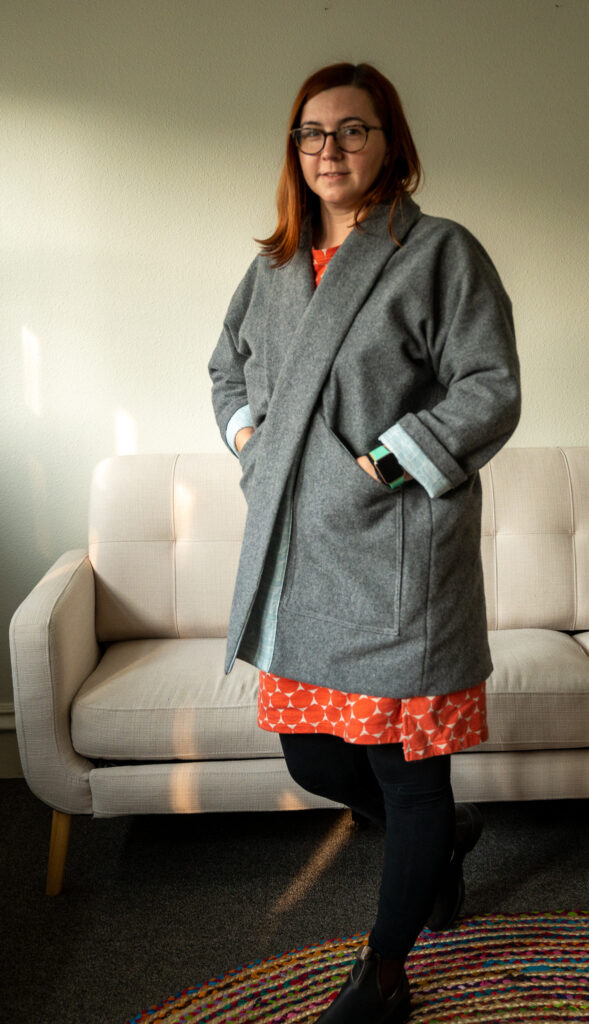
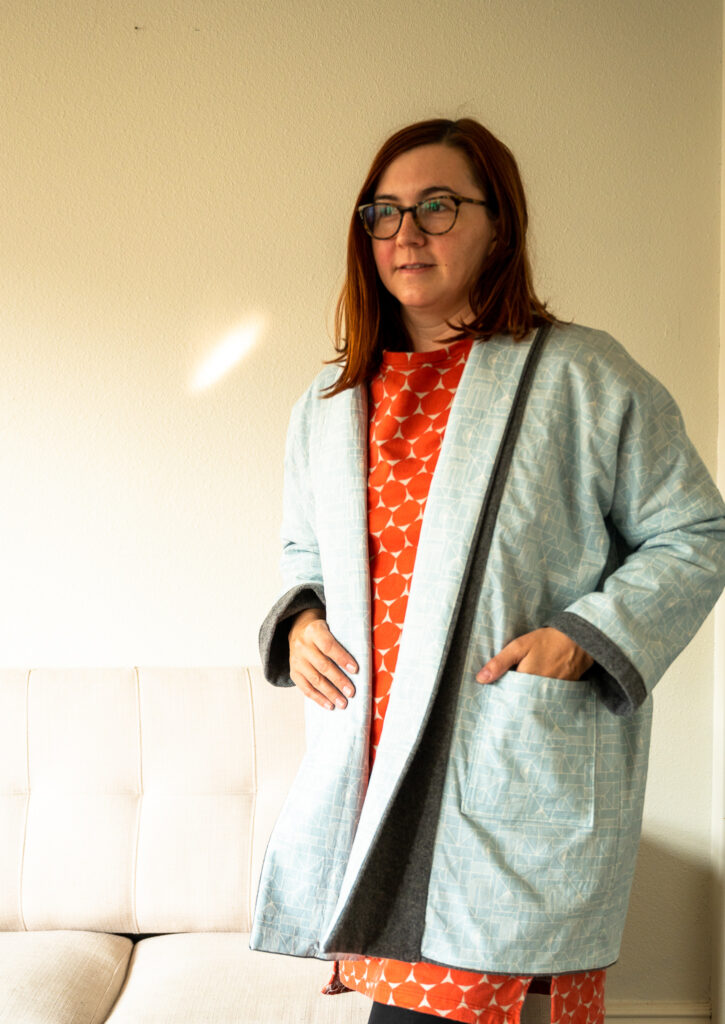
Oh hai, Haori. I made a damn coat. My nicer wool coat that I wore last year is a little tight in the sleeves, so I decided I would be brave enough to just make one. Lately when I think I want to learn more about a pattern and see examples of it before taking the plunge, I follow the hashtag for it on Instagram. You can see a million brilliant examples of this Wiksten Haori if you look. I thought it would be beyond my skill level for now, but a trusted seamstress assured me that it was pretty straightforward and easy to follow.
I used some Melton wool blend from Fancy Tiger Crafts for the outer part of the coat. It’s 85% wool and 15% nylon. There were no washing instructions for it on their site. I assume it’s all dry cleaning recommended, but that’s not how I plan on caring for this. Instead, I treated it like I treat my knits. I soaked it in the machine with wool wash then I spun it out. I grew impatient with drying, so I kept putting it in the dryer on the no-heat fluff cycle with some wool dryer balls to help absorb the moisture. I think it came out fine and I bet the nylon element helps to stabilize and prevent shrinkage like with yarn. The inner fabric is some solid cotton that was on sale, also at Fancy Tiger Crafts.
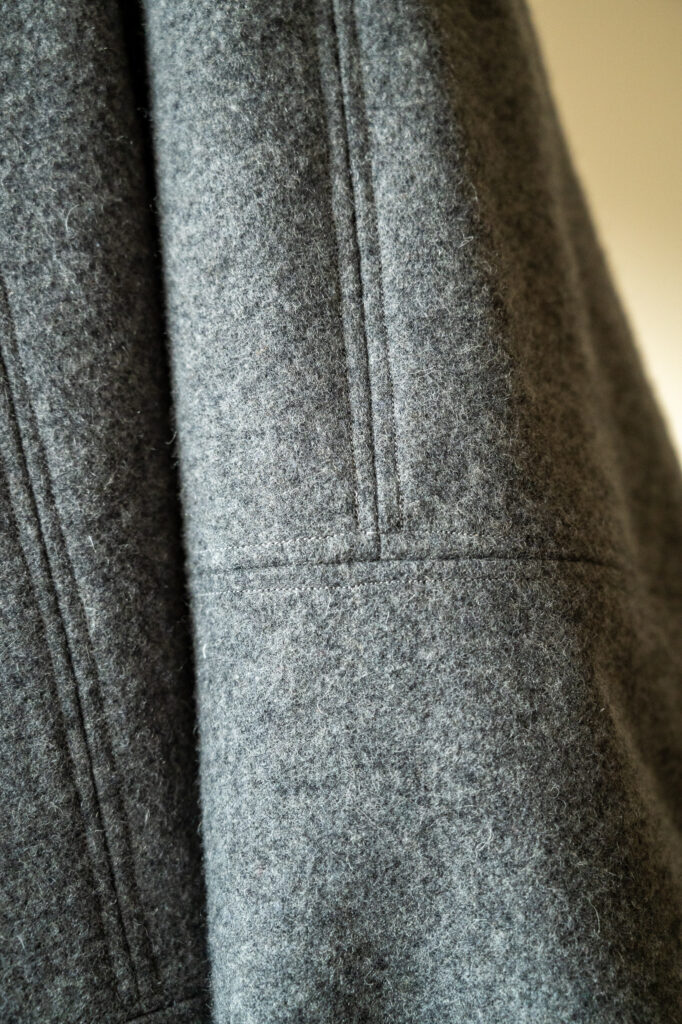
I made a couple of modifications. I made the medium size because this is already really oversized and I didn’t want it to seem cartoonishly so. Many folks size down and when I looked at the width of the paper pattern, I knew I would as well. I added some extra topstitching on either side of the shoulder seams and the seam where the sleeve attaches. I saw this on Denise’s version and thought it was brilliant. I think it adds a little nice finishing. I added two lines of stitching to all of the pocket edges as well.
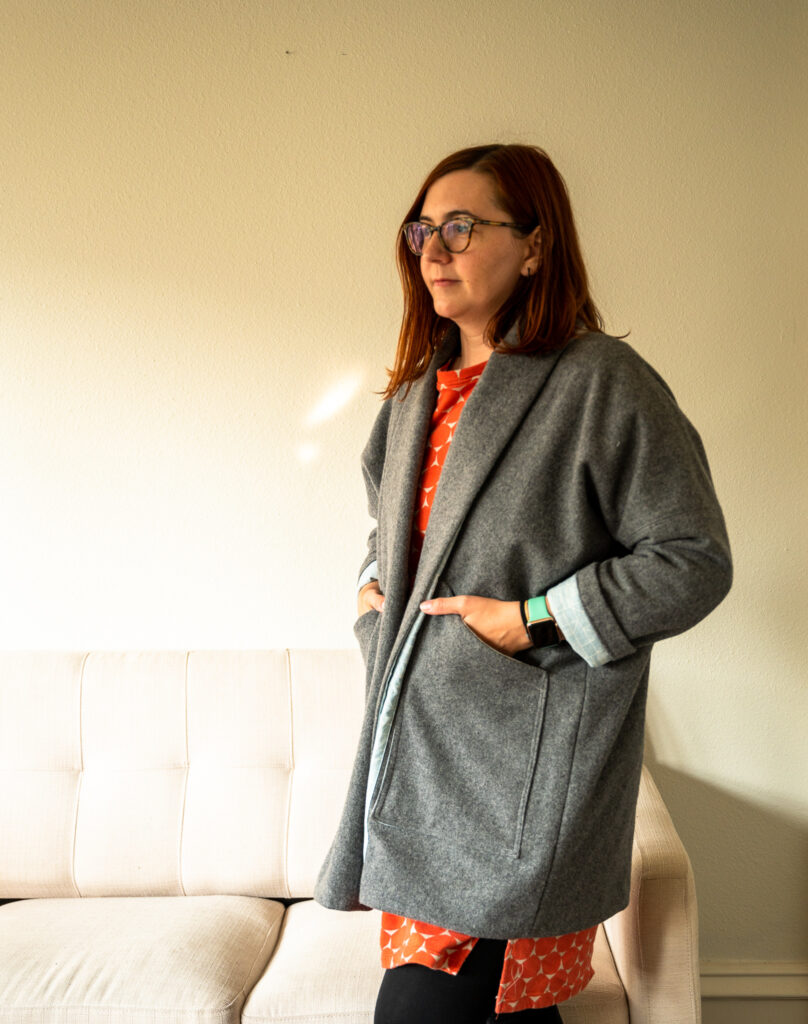
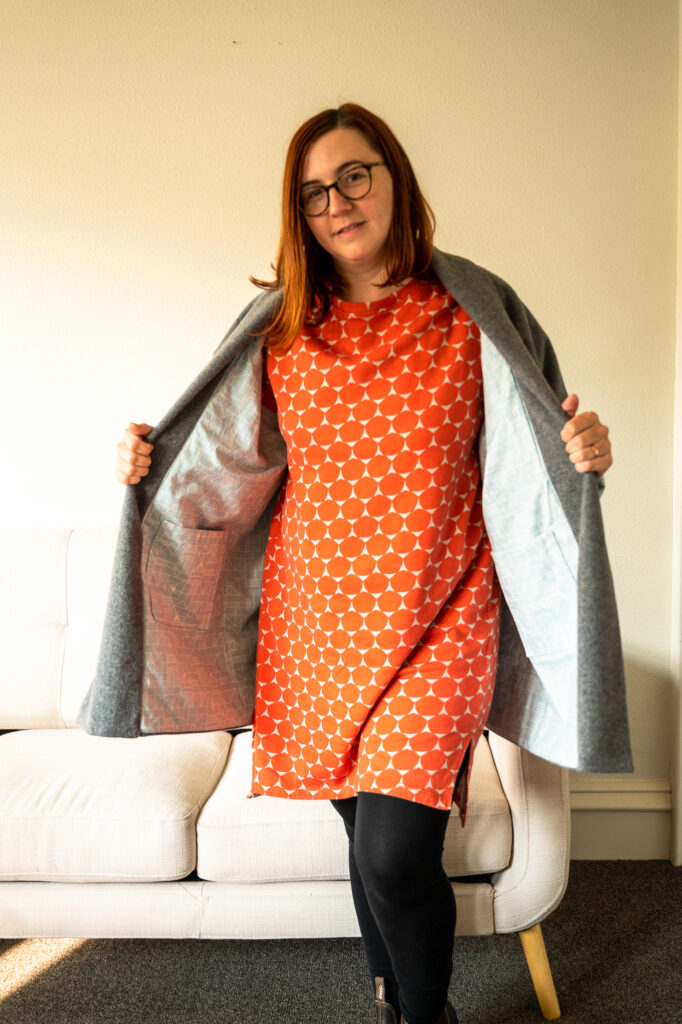
For the coat pockets on the outside I went with a slightly larger and angled pocket like some examples I saw on Instagram. I also added pockets to the inside of the coat with the lining fabric.
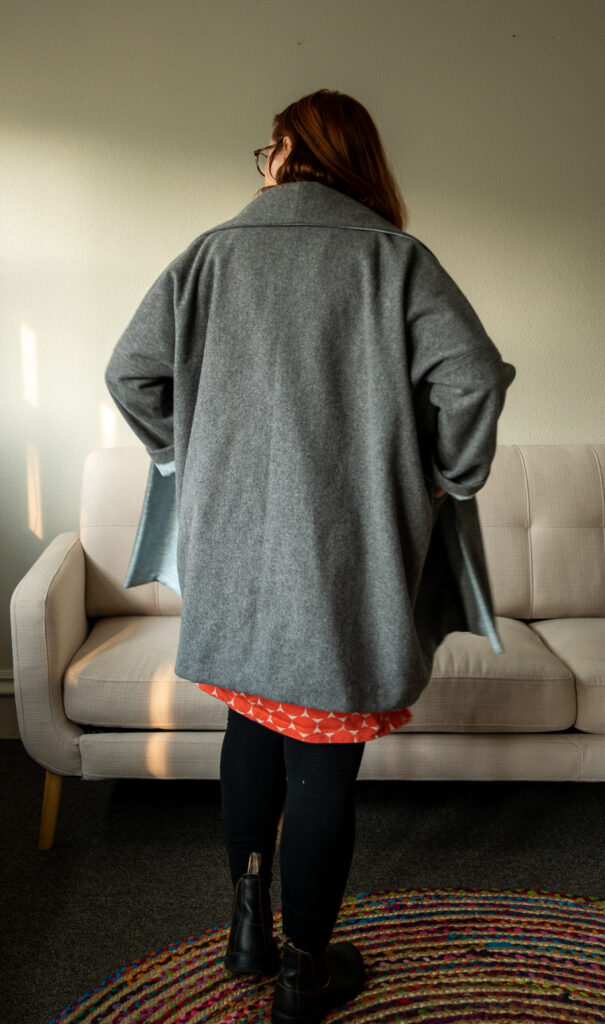
The more pockets the merrier in my opinion, and since this is reversible, if I do wear it reversed, I can’t imagine not having a place to put my mitts.
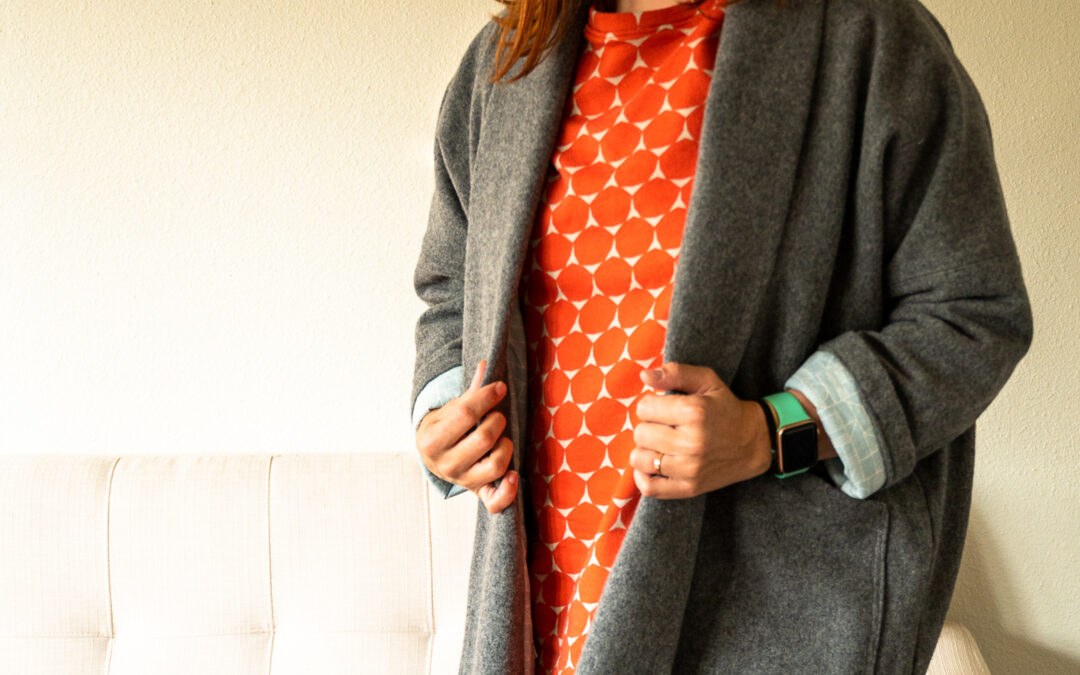
It seems like some people have trouble with sewing at the back of the collar. I kept that in mind and when attaching the collar, so for that part of the seaming I started at the back center and moved toward the bottom. That seemed to work pretty well, or at least if this is not as it should be for the collar, I’m not experienced enough to know. I also did not make both side of the collar the same color as specified in the pattern. The way it is written, the pattern suggests using the lining fabric for the collar. I didn’t want the high contrast, so I make the upper collar with the wool and used the lining fabric for the under collar. I like the little peek of color at the edge of the collar.
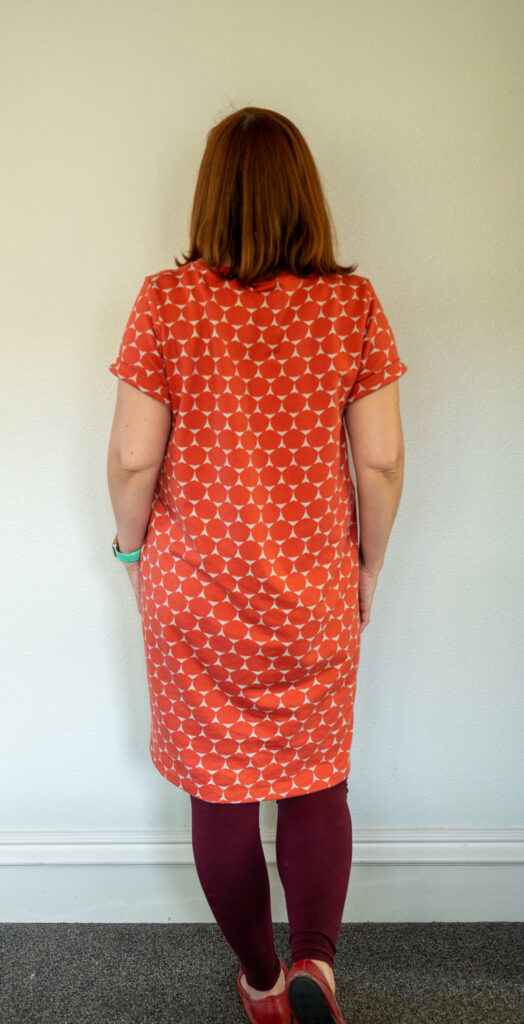
This dress is yet another Inari. This is more Cloud 9 interlock knit sweatshirt-ish fabric. It’s a good transitional weather piece. Unfortunately even though I thought I was being very careful with cutting it, the front ended up being a little off grain. It doesn’t bother me enough to not wear it and I’m not sure how I would fix it. I have learned that blocking fabric is a thing when it’s off grain, so if I notice something like this again before cutting, I will do that.
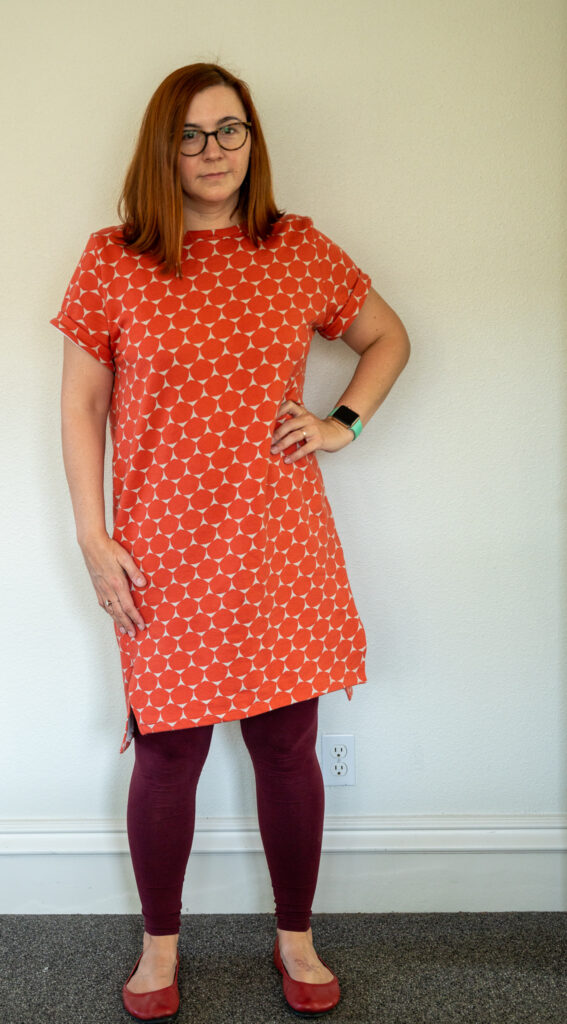
I added about an inch of length to each piece. There’s not much more to say about this pattern after I’ve made two tops and two dresses with it. I love it and I think it looks great both ways. It can also be made with knits or woven fabric, which is pretty rad. I know this won’t be my last Inari. It’s nice to have some sewing patterns I know I will make over and over.


Nice photos.
You made a reversible coat?!! Wow! It looks great! That dress looks really nice too. I love that print and color. I am always amazed at what you can sew and how awesome everything looks. Well done!
Both items look fantastic! I absolutely love the grey side of the coat, you can almost feel how soft it is (not quite true of course, but the closeup gave me a good idea how the fabric must feel to the touch).
The dress suits you so well! I don’t know many people who can wear orange, but it really compliments you! The combo looks very good, too. 🙂
(I really take my hat off to you, I don’t think sewing would be something for me, I’m too impatient to properly plan the outfit and cutting, etc.)
Thank you so much! I’m really trying not to turn this into a totally sewing blog, but it’s a very captivating new hobby.